| |
Worksheet 1
Flashing a light.
Introduction:
This sheet will show you how to control the LED built-in to the Raspberry Pi Pico board.
You will send commands to the Pico to turn it on and off,
and you will download a program so that it flashes, when power is supplied to the Board.
You will need
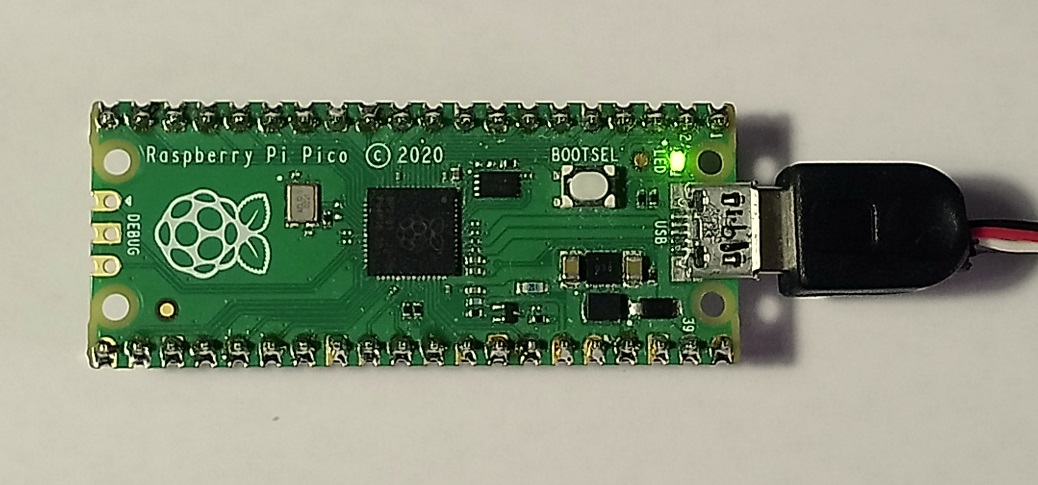
A Raspberry Pi Pico
This may be on a Robot, or might be on a breakout board. Either will do.
A connecting USB lead
A computer running Thonny
1
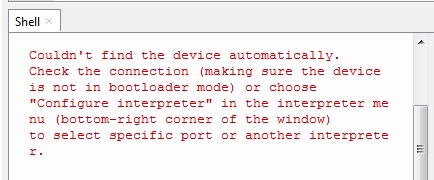
Run the Thonny program on the PC and click the "stop" icon

- you should see a message from Thonny saying that nothing is connected.
2
Connect the computer to the USB connector on the Pico

Now repeat the "stop" command from step 1
Thonny should put up a prompt:
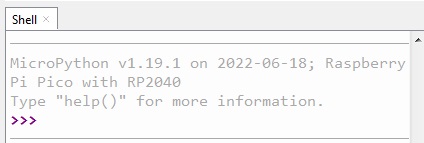
expecting you to type a command.
3
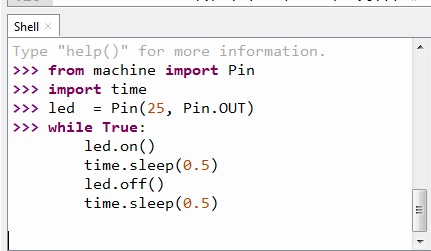
Enter commands into the Shell window and then hit return after each one:
>>> from machine import Pin
This sets up the Class “Pin” to allow you access to all the input and output pins on the Pico
>>> led = Pin(25, Pin.OUT)
This identifies a special pin (No.25) that is already connected to the internal LED on the Pico board.
It gives it the name "led". You will see which one it is when it lights up.
>>> led.on()
This command turns the LED on
>>> led.off()
And this turns it off
4
Enter commands that will cause the LED to flash continuously. We will use a "while True" loop
Notice that all lines of the loop must be entered before the loop can run.
Just enter a blank line to finish the loop
5
Set up a program in the File window in Thonny,
that will run when the Pico is switched on (even without a computer attached).

You will need to save it on the Pico with name "main.py"
for it to be run automatically on switch-on.

Save it to Raspberry Pi Pico:
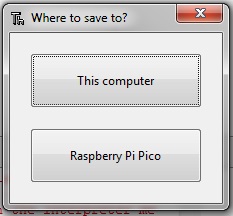
And give it the right name:

Click OK and it will be saved.
Now disconnect.
Switch off, and switch on again.
|